Creative Ways to Display Travel Photos at Home
As an Amazon Associate, I earn from qualifying purchases. Please note that a few of the links in this article are actually affiliate links. This means that if you click on them, I will get a commission, without any extra cost to you. I only recommend products or services that I personally tested and highly recommend.
If you’re anything like me, you come back from vacation with hundreds of photos… and then they just sit on your phone. My son loves to tease me that our walls are too bare, even though we’ve explored so many incredible places. That finally pushed me to create a gallery wall of our national park adventures using Mixtiles and a giant pin map to track where we’ve been.
The truth is, when those photos stay hidden in digital files, the stories fade too. Displaying your travel photos at home keeps the memories alive, sparks conversations with your teens, and reminds you daily of the adventures you’ve shared.
In this guide, I’ll share creative, easy ways to display travel photos — from wall galleries and photo books to digital frames and keepsake displays. I’ll also share the products I personally use (and love), plus quick tips to make sure those photos don’t get lost in your camera roll.
Why You Should Display Travel Photos
Travel photos aren’t just decorations — they’re memory keepers. When your pictures stay hidden on your phone or computer, those little details of the trip fade faster than you realize. Putting them on display keeps the stories fresh and sparks conversations long after the vacation ends.
I’ve learned this firsthand. If I don’t print our photos quickly, I forget the small moments — like the time my teens tried to out-hike me in Glacier or when we laughed over burnt marshmallows at a campsite. Having those pictures up on the wall instantly brings those memories back.
Another bonus? Displaying your photos makes it easier for your teens to engage. They’ll walk past a picture and say, “Remember when…?” and suddenly you’re reliving the adventure together.
Quick tip: Journal while you’re traveling. Even a few notes in your phone can make building photo books later much easier, because you’ll have the stories right there to go with the pictures.
For more tips on keeping your photos organized and easy to access, check out my guide on how to organize photos quickly.
Sources for Printing Your Travel Photos
If we’re going to talk about creative ways to display travel photos, we need to start with printing. While digital displays are great, most ideas begin with getting your pictures off your phone and into your hands.
Printing Services
Sometimes the fastest option is the simplest. Walgreens and CVS Photo both offer same-day prints, which is perfect if you’re feeling motivated and don’t want to wait on delivery.
If you’re ordering online, Snapfish and Shutterfly are long-time favorites. They often run great deals, and both let you order full-size prints or photo books. My advice? Pick one and stick with it. Nothing’s worse than forgetting which site you uploaded to last time.
Printers
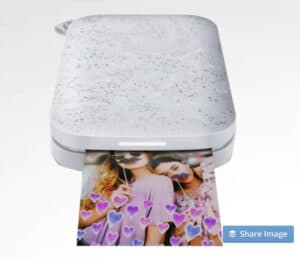
If you like the idea of printing whenever the mood strikes, investing in a good home photo printer is worth it. I’ve used HP printers with their Instant Ink program, which makes it easy to keep ink stocked without running to the store.
For something portable, the HP Sprocket Select Photo Printer is a fun option. It connects via Bluetooth and prints 3.5 x 5 inch photos on the go. I love the idea of printing thank-you cards while traveling or slipping fresh prints into a travel journal at the end of each day.
Scanners for Old Photos
Of course, not all memories are recent. If you have boxes of old photos, negatives, or slides, a scanner is the best way to bring them back to life. The Kodak Slide n Scan handles film negatives and slides, creating high-resolution digital copies you can share or reprint.
If you’re working with stacks of traditional prints, the Plustek Photo Scanner makes the process much faster than a flatbed. You can feed photos in one after another, making it easier to digitize large family collections without losing an entire weekend.
Do you have old photos sitting in photo storage boxes? Or what about negatives or slides? An easy way to share those with your family members is to invest in a negative scanner.
Creative Ways to Display Travel Photos

Wall Galleries
A wall gallery is one of the most impactful ways to turn your photos into daily inspiration. I finally put up a Mixtiles gallery of our national park trips alongside a giant pin map, and it completely transformed our living room. Mixtiles makes it easy with peel-and-stick frames that are lightweight and reusable — no hammer or nails required. The print quality is excellent, and I love being able to move them around as our collection grows.
Traditional frames still have their charm, especially if you want a more polished look. The trade-off is that they take more effort — measuring, hanging, and sometimes dealing with glass glare.
Tip for parents of teens: Let your kids pick a few of their favorite photos for their own rooms. It gives them ownership and makes them more likely to enjoy the display.

Photo Books
Photo books are one of the best ways to tell a story from start to finish. Unlike a single frame on the wall, a book can capture the whole journey — from the airport selfies to the mountain views to that hilarious wrong turn that became part of the adventure.
I love creating photo books because they turn into permanent family keepsakes. My kids still flip through ours from years ago, and it sparks conversations that wouldn’t happen if those pictures stayed buried in my phone. The challenge? They take time. If I don’t make them soon after a trip, I find myself putting it off, and those little stories that make the photos special start to slip away.
Here’s how to make the process easier and actually get those books printed:
1. Pick a Theme or Storyline
Don’t just upload photos randomly. Decide whether the book will highlight one trip (like your summer in Yellowstone), a season (family travels in 2024), or a theme (all your national park hikes). This helps you filter photos faster and gives the book a clear focus.
2. Journal as You Go
Even if you only jot down a few notes in your phone each night of the trip, those snippets make writing captions much easier later. I’ve found this saves hours when building a book, and it preserves little moments my memory might skip.
3. Narrow Down Your Photos
This is the hardest part for most parents. Start by marking your favorites while you travel, or do one quick pass through your photo roll and only pick the ones that instantly make you smile. Too many photos will make the process overwhelming — and cluttered books aren’t as fun to look through.
4. Use Easy-to-Design Services
Shutterfly and Snapfish are great starting points. Their drag-and-drop layouts and ready-made themes mean you can finish a book in an evening. They also run frequent sales, so you rarely have to pay full price. If you want a more polished look, Mixbook has gorgeous lay-flat options that feel more like a coffee table album than a casual scrapbook.
5. Make It a Family Project
This is where involving teens can be fun. Give them a page or two to design themselves — maybe their favorite hike, meal, or moment from the trip. Not only does it get them involved, but it also creates a keepsake that reflects their perspective too.
Pro tip: Schedule a “memory night” a week or two after you get home. Put on some music, order pizza, and build the book together. It turns the process into a family event instead of one more task on your to-do list.
Digital Photo Frames
Digital frames are a great way to keep your travel photos rotating without taking up more wall space. We bought an Aura frame for my mom, and she loves it. The setup was simple, the photo quality is crisp, and I can upload pictures straight from my phone. She also likes being able to schedule when it’s on, so it doesn’t stay lit all night.
The best thing about the Aura frame and why I chose it, setting it up at home and shipping to my mom. She does not have a smart phone, so I was able to set it up to connect to her WiFi at my house and then ship it to her.
For families who travel often, digital frames are perfect because you don’t have to choose just a few photos. You can update them after every trip and keep the memories fresh without another printing project.
Travel Story Corners
If you want your photos to tell more than just “where we went,” try creating a travel story corner. Instead of filling a whole wall, dedicate a small space to one specific trip. Combine one or two framed photos with a short caption or journal entry and a small keepsake like a ticket stub, postcard, or park map.
I like this approach because it turns a simple photo display into a memory station. Every time you walk past it, you’re reminded not only of the photo but of the story behind it. It’s also an easy way to showcase your journaling if you jot down notes while traveling.
3D Keepsake Displays
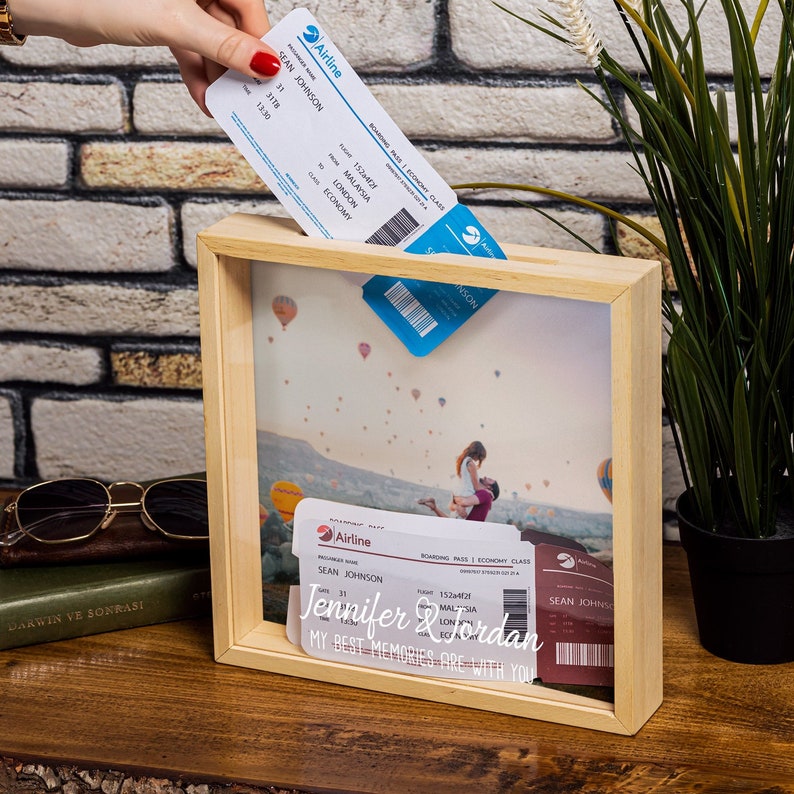
Not every memory fits neatly into a photo. Souvenirs like coins, shells, or pressed pennies can be just as meaningful. A 3D keepsake display lets you combine photos with those small treasures in one place.
Shadow boxes are one of my favorite ways to do this. You can arrange a photo or two alongside tickets, maps, or even a trail patch from a national park. It’s a fun way to highlight trips that feel extra special and to show your teens how keepsakes can become part of the story.
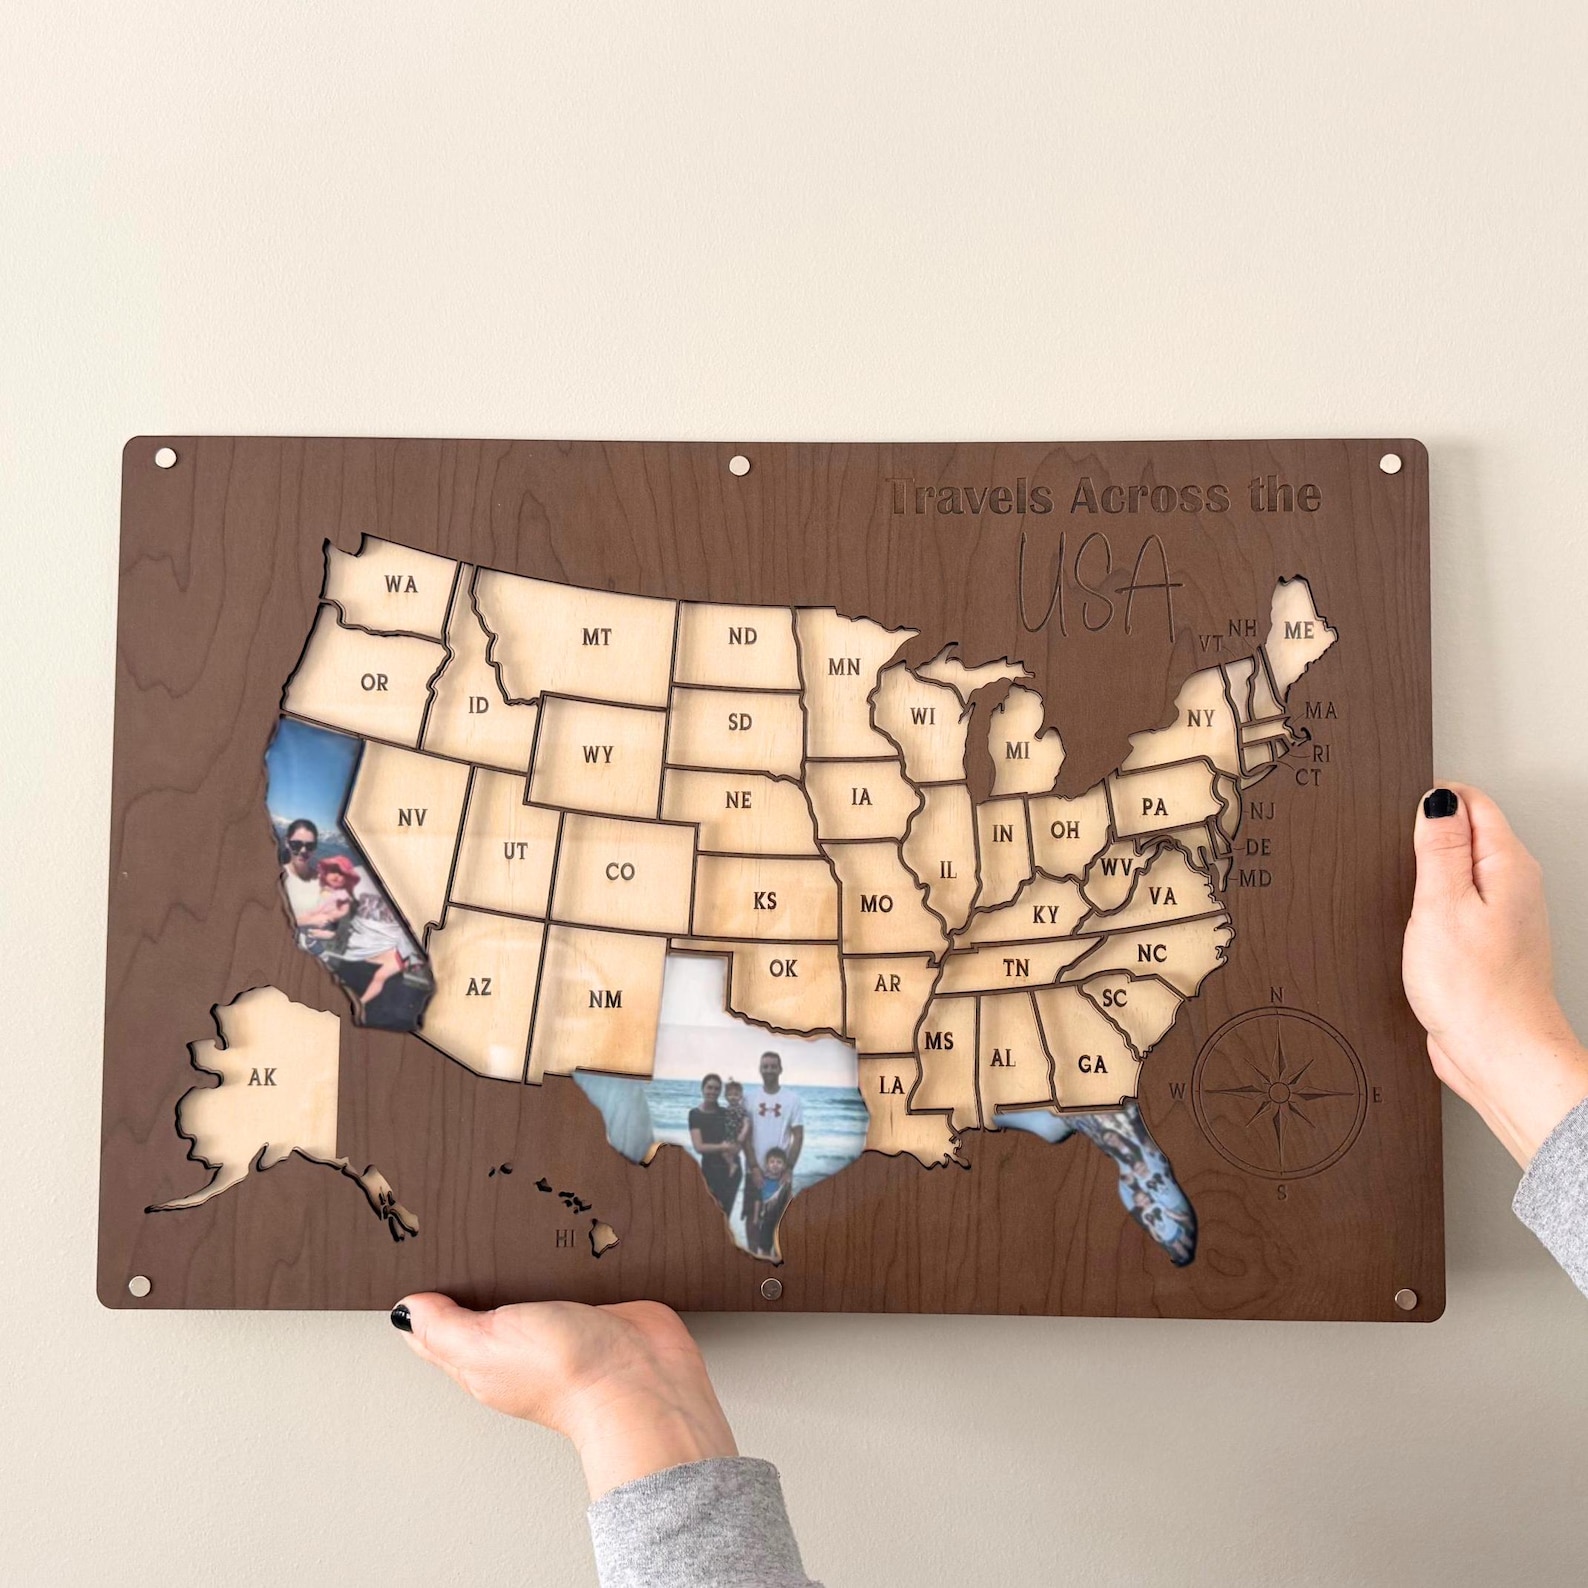
Photo Maps
Photo maps are a creative way to track where you’ve been and turn it into art. These maps let you insert your own photos into the shape of a state, country, or even the entire world. Over time, you can fill in the places you’ve visited until you’ve created a personalized travel story right on your wall.
We recently added a national park map to our home, and it’s become a favorite conversation starter. My teens love spotting the parks we’ve checked off, and it keeps us inspired to plan our next adventure.

Where to Put Travel Photos at Home
Once you’ve chosen how to display your photos, the next step is deciding where to put them. Placement makes a big difference in how often you see and enjoy them.
- High-traffic spots like stairways, hallways, or the kitchen are great for sparking daily conversations.
- Living rooms or family rooms work well for larger gallery walls where everyone can enjoy them.
- Bedrooms give your teens a chance to personalize their own space with favorite memories.
- Workspaces or home offices keep travel inspiration close by when you’re stuck at a desk.
Think of these displays as “memory anchors.” The more often you see them, the more likely you are to relive those trips and start dreaming up the next one.
Tips for Getting Photos Off Your Phone Fast
The biggest hurdle to displaying travel photos isn’t finding the perfect frame or printer — it’s actually getting the photos off your phone. If too much time passes, the details fade and the task feels overwhelming. Here are a few ways to make it easier:
- Print right away. As soon as you get home, choose a handful of favorites and order prints or upload them to a service like Shutterfly.
- Set aside a memory night. Once a month, have a family night where you pick photos, order prints, or work on a photo book together.
- Organize while you travel. Create a shared album on your phone so family members can drop in their best shots during the trip.
- Journal as you go. Even quick notes help when it’s time to caption photo books or create story corners later.
For more step-by-step strategies, check out my guide on how to organize photos quickly.
Final Thoughts on Creative Ways to Display Travel Photos at Home
When my son teased me about our bare walls, I realized how many of our adventures were sitting unseen in my phone. Now, with a Mixtiles gallery and our national park map, our home feels filled with stories instead of blank space.
Displaying your travel photos is not just about decorating. It is about keeping your memories alive, sparking conversations with your teens, and reminding yourself of the adventures you have shared. Whether you start with a digital frame, a photo book, or a keepsake display, the key is to pick one method and take action before those stories fade.
Do not let your photos sit forgotten. Print them, frame them, and put them where you will see them every day. Your walls and your memories will thank you.
Read Next:
Related Posts You Might Like: